
Itinerary for 7 Days Machame
Day 1: Machame Gate → Machame Camp
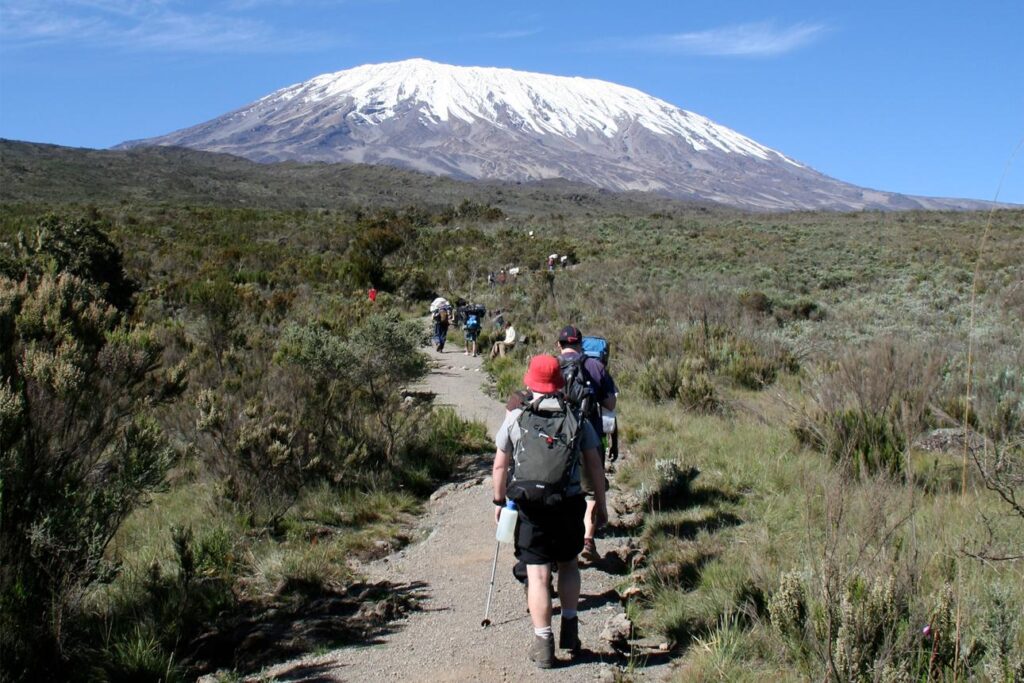
After registering at the gate and meeting your crew, you start along a muddy, well-maintained trail through dense forest. Expect towering trees, moss, ferns, and, if you’re lucky, colobus monkeys and exotic birds. The path climbs steadily, and the forest is often damp, so rain gear is essential.
You arrive at Machame Camp in the late afternoon. Your tent is already set up, hot water is ready for washing, and dinner is served in the mess tent.
Tips: Walk pole pole (slowly) from the first step. Keep your rain jacket and trousers within reach, as the forest is humid year-round.
Day 2: Machame Camp → Shira Camp
- Elevation: 2,980 m → 3,840 m
- Distance / time: ~5 km, 4-6 hours
- Habitat: Heath and moorland
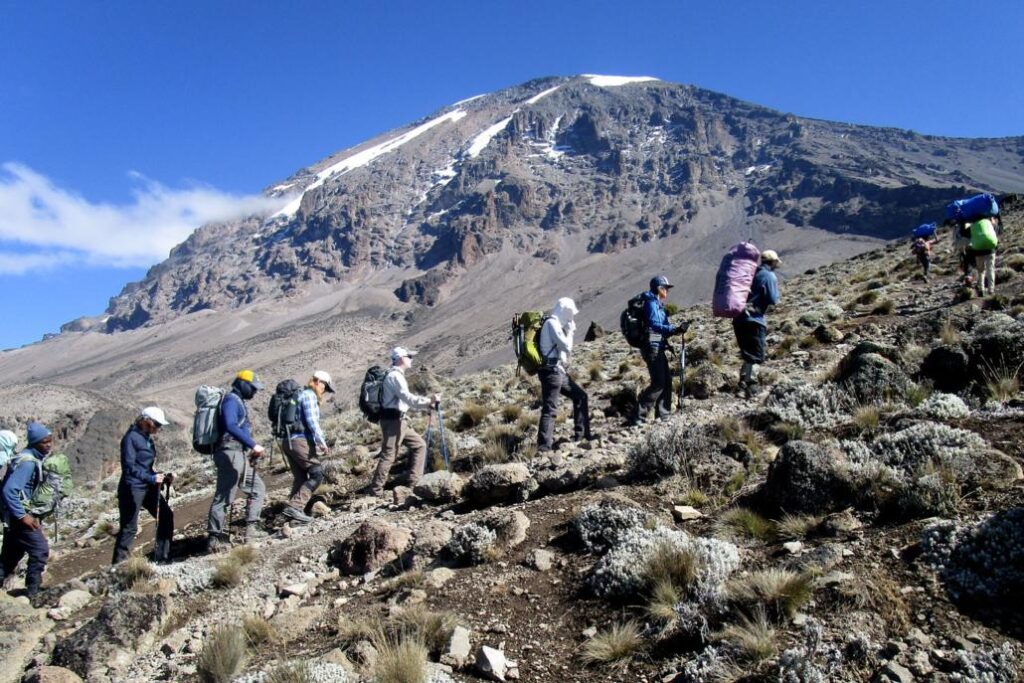
The forest thins into heather and giant shrubs, and the views open up. The trail is steeper early on, with rocky ridges and short scrambles, then eases onto the Shira Plateau, the remains of an ancient collapsed volcanic cone. Look back for views of Mt Meru in the distance.
Shira Camp sits on open ground with sweeping views of the summit. The sunsets here are among the best of the trek, and nights get noticeably colder.
Tips: Drink plenty of water. Altitude symptoms (mild headache, reduced appetite) can begin to appear.
Day 3: Shira Camp → Lava Tower → Barranco Camp
- Elevation: 3,840 m → 4,630 m (Lava Tower) → 3,970 m
- Distance / time: ~10 km, 6-8 hours
- Habitat: Alpine desert
This is the key acclimatization day: “climb high, sleep low.” The trail heads east across a barren, rocky landscape toward Lava Tower, a 90 m volcanic plug. Many groups stop here for lunch. The air is thin and you may feel the altitude (headache or nausea is possible), but the exposure helps your body adapt for summit night.
After lunch you descend steadily to Barranco Camp, passing giant groundsels (Dendrosenecio kilimanjari) that look like something from another planet. Barranco sits in a sheltered valley beneath the Barranco Wall, with views of the glaciers above.
Tips: If you feel unwell at Lava Tower, tell your guide immediately. Descending is the best remedy, and you’re heading down anyway.
Day 4: Barranco Camp → Barranco Wall → Karanga Camp
- Elevation: 3,970 m → 4,200 m (top of wall) → 3,930 m
- Distance / time: ~5 km, 4-5 hours
- Habitat: Alpine desert
The day starts with the Barranco Wall, a ~257 m rock face. It looks intimidating but is a scramble, not a technical climb: you use your hands in places and follow a defined route with porters passing by. Take your time, and enjoy the views of Kibo and the glaciers.
Past the top, the trail crosses ridges and valleys before dropping to Karanga Valley and then Karanga Camp. It’s a shorter day, good for resting before the final push.
Tips: Keep poles stowed or secure on the wall if needed, and keep daypacks light.
Day 5: Karanga Camp → Barafu Camp
- Elevation: 3,930 m → 4,600 m
- Distance / time: ~4 km, 3-4 hours
- Habitat: Alpine desert, rocky terrain
A short but steady climb to Barafu (“ice” in Swahili), the base camp for the summit attempt. The terrain is rocky and barren, and the camp is exposed and windy. You’ll have an early dinner, then rest as much as you can in the afternoon.
Your guides will brief you on the summit night plan: layers, headlamps, water, snacks. Most groups wake around 11 pm-midnight.
Tips: Prepare your gear before sleeping. Keep water bottles (insulated, or upside down) from freezing. Eat and hydrate well even if appetite is low.
Day 6: Barafu Camp → Uhuru Peak → Mweka Camp
- Elevation: 4,600 m → 5,895 m → 3,100 m
- Distance / time: ~5 km up (6-8 hrs), ~12 km down (5-7 hrs)
- Habitat: Arctic summit zone → rainforest
This is the big day. You set off around midnight by headlamp, climbing steadily over scree and rock in extreme cold (often -10 to -20 °C with wind chill). The pace is very slow and the push is as much mental as physical. After several hours you reach Stella Point (~5,756 m) at the crater rim, often as the sky begins to lighten.
From Stella, another 45-90 minutes along the rim takes you to Uhuru Peak, the highest point in Africa, ideally around sunrise. You’ll pass glaciers and ice cliffs, and the view across the crater and clouds below is unforgettable. Photos are quick, because you can’t linger long at this altitude.
Then it’s a long descent back to Barafu for a rest and snack, and on to Mweka Camp in the forest zone, where the air is thicker and warmer. Expect to finish the day exhausted but elated, after something like 12-15 hours on your feet in total.
Tips: Trekking poles help the descent enormously. Keep your camera and phone warm, because batteries die fast in the cold.
Day 7: Mweka Camp → Mweka Gate
- Elevation: 3,100 m → 1,640 m
- Distance / time: ~10 km, 3-4 hours
- Habitat: Rainforest
A gentle descent through lush forest, though the trail can be muddy and slippery. At Mweka Gate you sign out and collect your summit certificate (green for Stella Point, gold for Uhuru Peak). Your crew will celebrate with songs, and you’ll tip them. You then transfer back to your hotel for a hot shower and a proper meal.